Hip joint
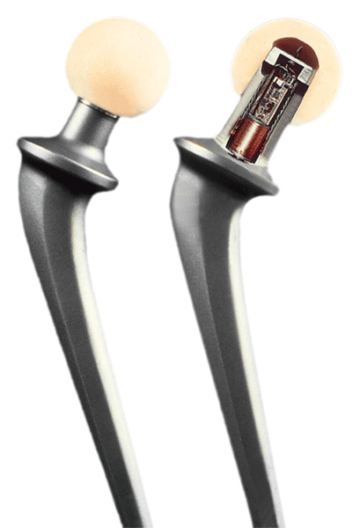
Two different hip implants (Hip I and Hip II) monitor the three force components acting on the ceramic head of the hip joint.
Instrumented implant
Hip I with one 4-channel transmitter
The implant is made of a titanium stem and a ceramic head. A compartment, 32 mm deep and 9.5 mm wide, houses the electronic instrumentation inside the neck of the prosthesis. Three semiconductor strain gauges were applied at the lower end of the inner wall and connected to the 4-channel transmitter. Two electrical feed-throughs, welded in the top plate by electron beam, form the transmitter antenna inside the ceramic ball. After the instrumentation, the top plate is welded by laser onto the prosthetic neck, thus sealing the inner space in such a manner that it is absolutely safe against the body.
Since 1988 four instrumented hip joints (Hip I) were implanted in three patients (EBL/EBR, JBR, IBL).
Hip II with two 8-channel transmitters
To get more information about a potential temperature increase of hip implant after longer walking distances, an implant with a hollow shaft was instrumented with two 8-channel telemetry transmitters. A common coil in the middle of the shaft supplies power to both telemetry circuits. Inside, eight temperature sensors are arranged along the whole neck and shaft. Three strain gauges placed inside the prosthetic neck monitor the three force components which act at the centre of the ceramic ball. A fourth strain gauge measures the strain of the stem.
One telemetry transmitter is placed inside the prosthetic neck; the second device is fixed inside the hollow shaft of the implant. A 4-lead feed through is welded by laser in the top plate of the neck and forms two single loop antennas for the signal transmission.
Since 1997 five instrumented hollow shaft hip joints (Hip II) were implanted in four patients (KWL/KWR, HSR, PFL, RHR).
Coordinate system
Femur system
All forces are reported in a right-handed coordinate system of the left femur (different from hip joint type: Hip III). The load components are reported as -Fx, -Fy, -Fz with negative signs. Positive values therefore indicate components acting toward the femoral head.
In many previously produced >OrthoLoad videos from the hip joint the minus signs are lacking!
The femur system is fixed at the centre of the femoral head. The femoral midline (dotted black/white) intersects with the axis of the neck in point P1. This midline leaves the femur distally at point P2. Point P2 is defined as the deepest point of the fossa intercondylaris at the distal end of the femur. The straight connection between P1 and P2 defines the z axis (marked in red). Perpendicular to z and parallel to a plane through the most dorsal parts of the condyles, the x axis is defined (green) and points medially. The y axis (blue) is perpendicular to x and z and points ventrally.
Implant system
In order to test fatigue or strength of the implant itself, it may sometimes be required to know the force components in an implant-based coordinate system. Axis zi of this system coincides with the shaft axis of the implant. The xi axis lies in the neck-shaft-plane. For the transformation of forces from the femur to the implant system, two angles are required: angle S between the z axis of the bone and the shaft axis of the implant, and the anteversion angle AV of the implant. This data is provided in a table.
Because the angle S is always small, transformation of the force components can be performed with sufficient accuracy by
- Turning the system by +AV around +z axis
- Turning the system by +S around the +x azis
More details about this transformation are given here and in Bergmann et al. (2001)(http://www.ncbi.nlm.nih.gov/pubmed/11410170?dopt=Abstract).
Patients
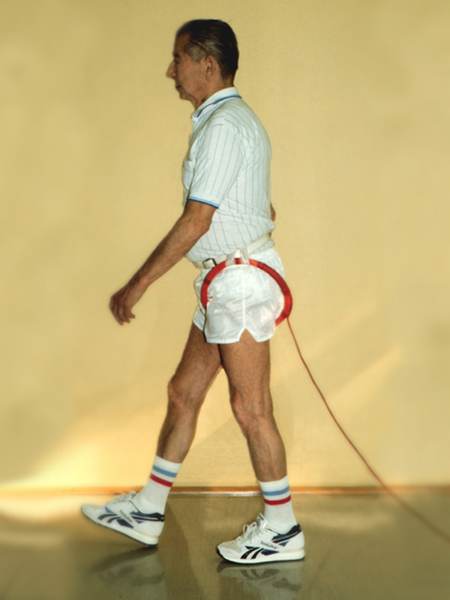 | 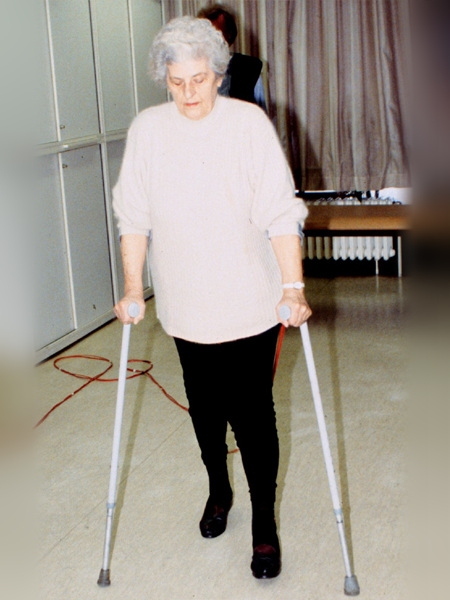 | 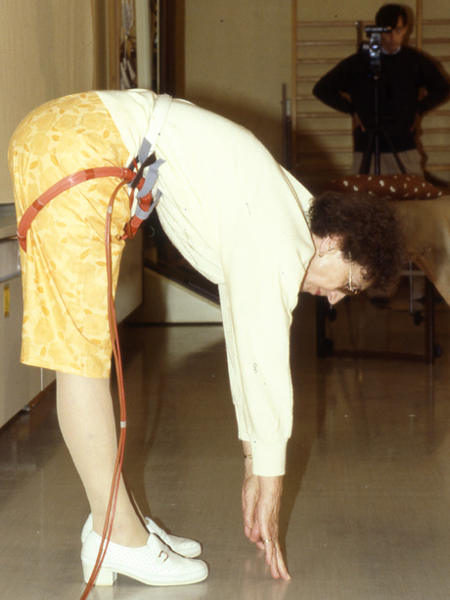 | |
| EBL/EBR (Hip I) | IBL (Hip I) | JBR (Hip I) | |
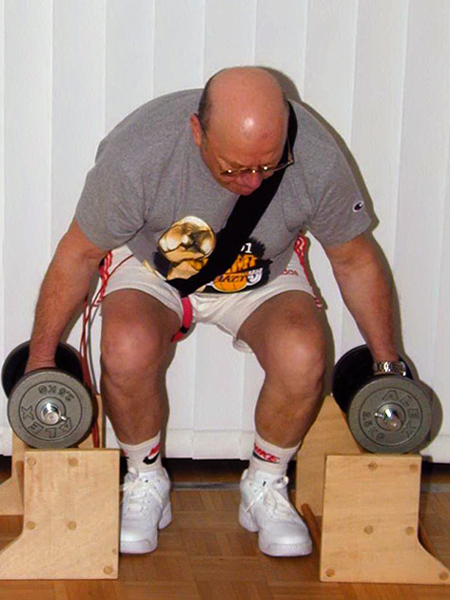 | 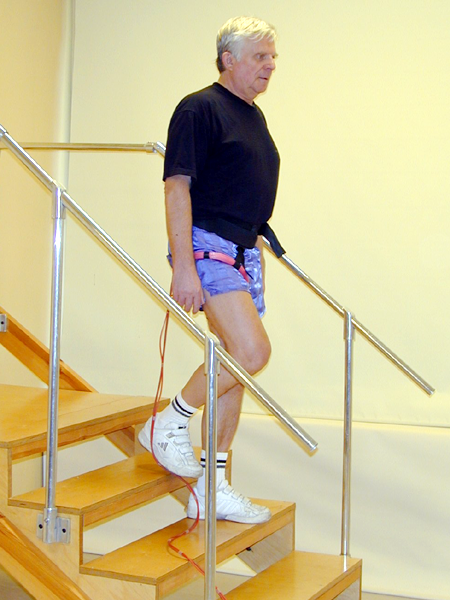 | 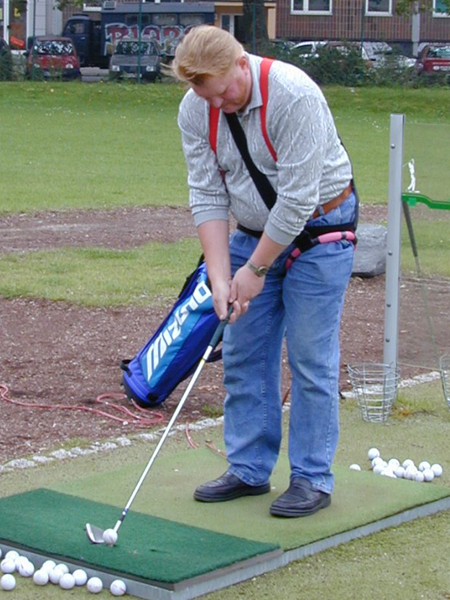 | 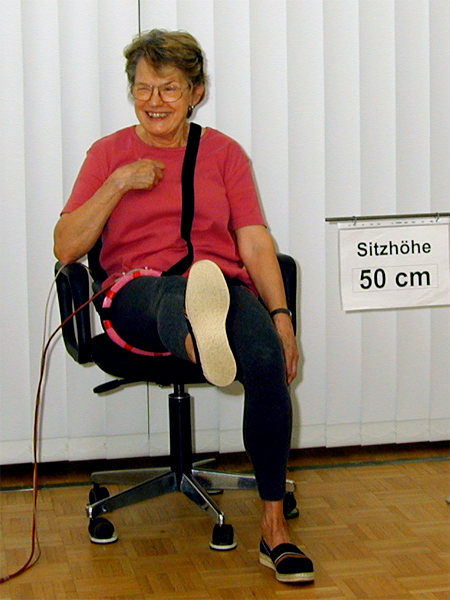 |
| HSR (Hip II) | KWL/KWR (Hip II) | PFL (Hip II) | RHR (Hip II) |
Table with basic information about the patients with Hip I and Hip II implants:
| Patient | Implant | Side | Gender | Weight [kg] | Height [cm] | Age at Implantation [years] | Indication |
| EBL | Hip I | left | m | 62 | 168 | 83 | Osteoarthritis |
| EBR | Hip I | right | m | 62 | 168 | 83 | Osteoarthritis |
| IBL | Hip I | left | f | 84 | 170 | 76 | Osteoarthritis |
| JBR | Hip I | right | f | 47 | 160 | 69 | Femoral head necrosis |
| HSR | Hip II | right | m | 82 | 174 | 55 | Osteoarthritis |
| KWR | Hip II | right | m | 72 | 165 | 61 | Osteoarthritis |
| KWL | Hip II | left | m | 72 | 165 | 61 | Osteoarthritis |
| PFL | Hip II | left | m | 98 | 175 | 49 | Osteoarthritis |
| RHR | Hip II | right | f | 60 | N/A | 63 | Osteoarthritis |
For the hip joint, the forces and moments in an implant-based coordinate system are of special interest. The torque around the shaft axis, for example, is one of the most important parameters for the stability of implant fixation. To transform the forces measured relative to the bone, as delivered by OrthoLoad, to the loads acting in the implant system, the anteversion angle AV of the implant, the CCD angle and the neck length L are required. This data are listed in the following table:
| Patient | Anteversion Angle AV [degree] | CCD Angle [degree] | Neck Length L [mm] | Shaft Angle S [degree] |
| EBL | 5 | 135 | 60 | 10 |
| EBR | 5 | 135 | 60 | 10 |
| IBL | 14 | 135 | 60 | 9 |
| JBR | 10 | 135 | 60 | 10 |
| HSR | 4 | 135 | 62 | 10 |
| KWR | -2 | 135 | 62 | 9 |
| KWL | 17 | 135 | 62 | 8 |
| PFL | 23 | 135 | 62 | 7 |
| RHR | 34 | 135 | 62 | 6 |


